
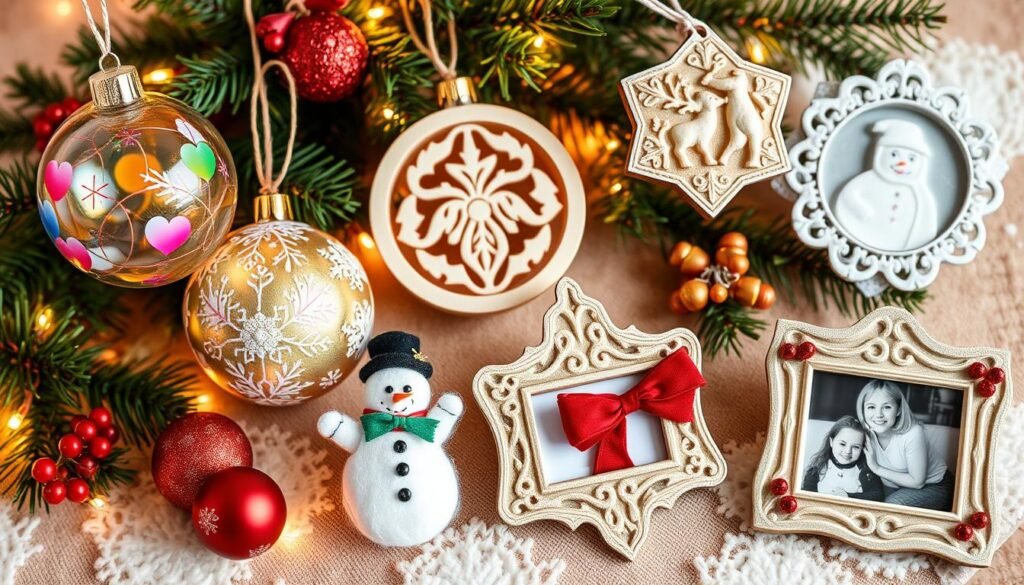
As the holiday season gets closer, we all want to decorate our homes. But buying ornaments can be expensive. Making your own ornaments is a great way to save money and add a personal touch.
In this article, I’ll show you 10 easy DIY Christmas ornament projects that cost less than $20. These projects let you create unique decorations for your home. You’ll save money and have fun making them, starting new traditions with your family.
Key Takeaways
- Discover 10 budget-friendly DIY Christmas ornament projects under $20
- Learn the benefits of handmade holiday decorations and the cost savings compared to store-bought options
- Explore how creating DIY ornaments can help establish family traditions and foster creativity
- Understand the essential materials and tools needed for these easy DIY Christmas ornament projects
- Discover creative ways to personalize your homemade ornaments and make them truly unique
Why Create Your Own Budget-Friendly Christmas Ornaments
As the holiday season gets closer, it’s easy to want to buy expensive ornaments. But, making your own inexpensive christmas crafts and festive diy projects has many benefits. You get to make ornaments that are special and save money too.
Benefits of Handmade Holiday Decorations
Making your own Christmas ornaments lets you show off your creativity. You can make personalized ornaments that show what your family loves. It’s a great feeling to have decorations that are truly yours.
Cost Savings vs Store-Bought Ornaments
DIY ornaments are much cheaper than buying them. You can make beautiful decorations for a lot less money. This way, you can decorate your home without spending a lot.
Creating Family Traditions Through Crafting
Doing festive diy projects together can start new traditions. Kids love helping make ornaments that they’ll see every year. It’s a great way to make memories and bond as a family.
DIY Christmas ornaments offer many advantages. They let you express yourself, save money, and create lasting family traditions. Enjoy making inexpensive christmas crafts and festive diy projects this holiday season.
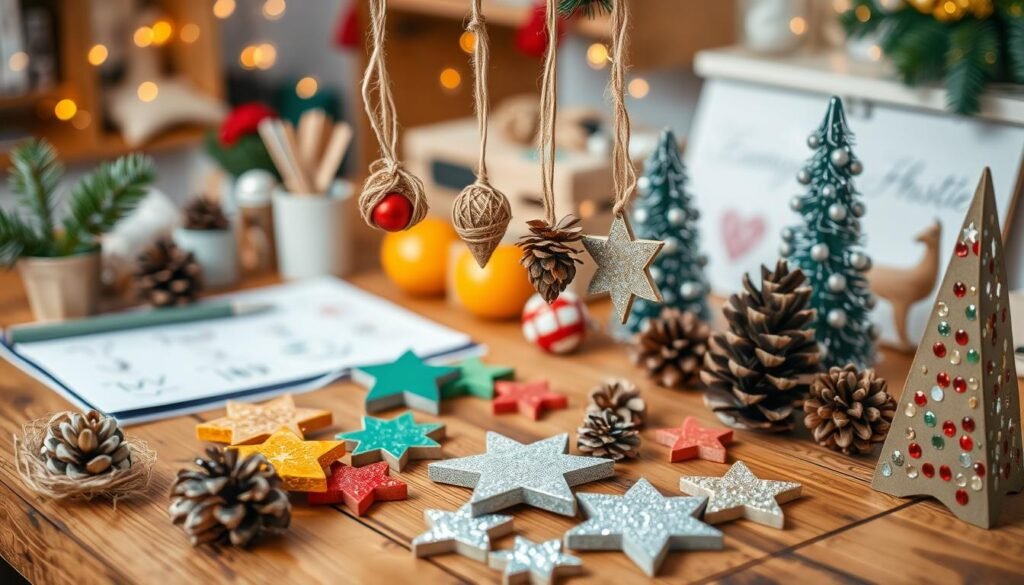
Essential Materials and Tools for DIY Ornaments
Making your own christmas tree decorations and holiday craft ideas is fun and saves money. It lets you add a personal touch to your home. Before starting, make sure you have the right materials and tools. Let’s look at the basic supplies you’ll need.
First, get craft glue or adhesive. It’s great for sticking together different ornament materials, like paper, fabric, or pinecones. You’ll also need scissors to cut shapes and patterns accurately.
- Craft glue or adhesive
- Scissors
- Paints (acrylic or tempera)
- Paint brushes
- Markers, pens, or colored pencils
- Ribbon, twine, or string
- Ornament hooks or hangers
- Glitter, sequins, or other decorative embellishments
- Household items like cardboard, fabric scraps, or jar lids
With these basic supplies, you’re ready to make unique christmas tree decorations and holiday craft ideas. Let your creativity flow as you turn simple materials into beautiful ornaments.
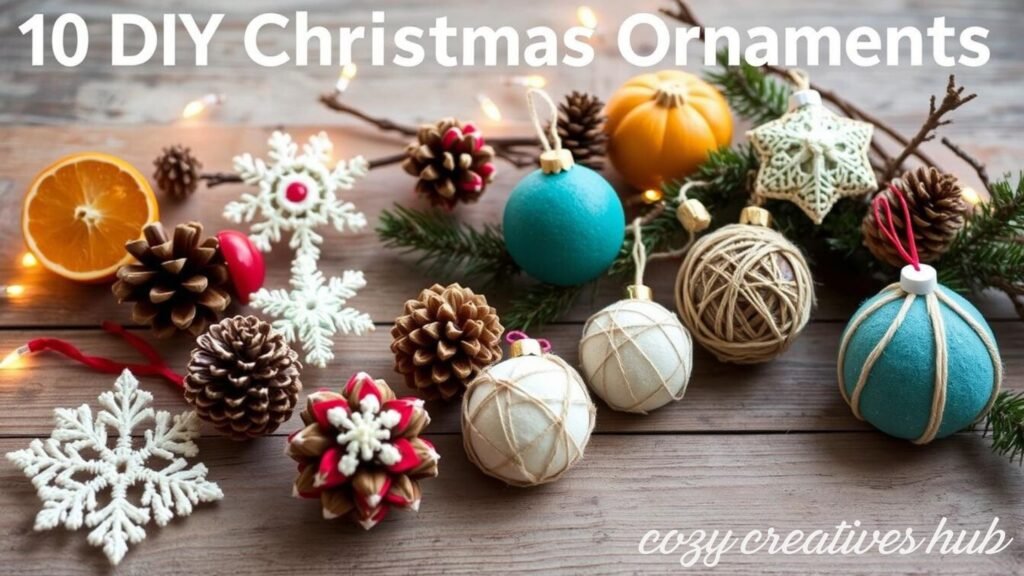
10 Easy DIY Christmas Ornaments Under $20
Making your own Christmas ornaments is a great way to add a personal touch to your holiday decor. These 10 easy DIY projects cost less than $20 to make. They let you create a stunning seasonal display on a budget. Get creative and turn everyday materials into unique ornaments that will make your home warm and welcoming this holiday season.
Supply List for Each Project
Each of the 10 DIY Christmas ornament projects needs specific materials. You can find these at your local craft store or even around your home. From basic items like paper and glue to more specialized elements like beads and clay, you’ll need a variety of supplies. Having everything ready ahead of time makes crafting smooth and stress-free.
Time Requirements per Ornament
The time it takes to make these 10 easy DIY Christmas ornaments varies. Some projects can be done in as little as 30 minutes, while others might take up to 2 hours. This range lets you pick projects that fit your schedule and skill level, ensuring a fun and rewarding crafting experience.
Skill Level Guidelines
These 10 DIY Christmas ornaments are designed for all skill levels. Whether you’re a seasoned crafter or just starting, there’s a project here for you. You’ll find both simple beginner-friendly designs and more advanced techniques to challenge and inspire you.
| Ornament Project | Supplies Needed | Time to Complete | Skill Level |
|---|---|---|---|
| Glitter Pine Cone Ornament | Pine cones, glue, glitter, string | 30 minutes | Beginner |
| Paper Snowflake Ornament | Paper, scissors, string | 45 minutes | Intermediate |
| Salt Dough Handprint Ornament | Flour, salt, water, paint, string | 1 hour | Beginner |
| Pom-Pom Reindeer Ornament | Pom-poms, googly eyes, pipe cleaners, glue | 1 hour | Intermediate |
| Woven Paper Star Ornament | Paper, scissors, glue, string | 1.5 hours | Advanced |
Creative Ways to Personalize Your Ornaments
Personalized ornaments make your holiday decor extra special. You can add names, dates, or family photos. There are many ways to make your Christmas ornaments unique.
Adding names, initials, or the year is a simple yet impactful way to personalize ornaments. You can use hand-lettering, stamping, or adhesive vinyl. These touches make ordinary ornaments into cherished keepsakes.
- Handwrite names or initials with a permanent marker or paint pen
- Stamp letters or numbers onto ornaments using rubber stamps and ink
- Cut out vinyl decals in your desired text and adhere them to the ornaments
For a more sentimental touch, add family photos or special mementos to your ornaments. Scan and print tiny images to attach, or use pressed flowers or small trinkets for a unique look.
With a bit of creativity, your personalized ornaments will become treasured holiday decorations. These festive DIY projects will make your home feel like a winter wonderland this season.
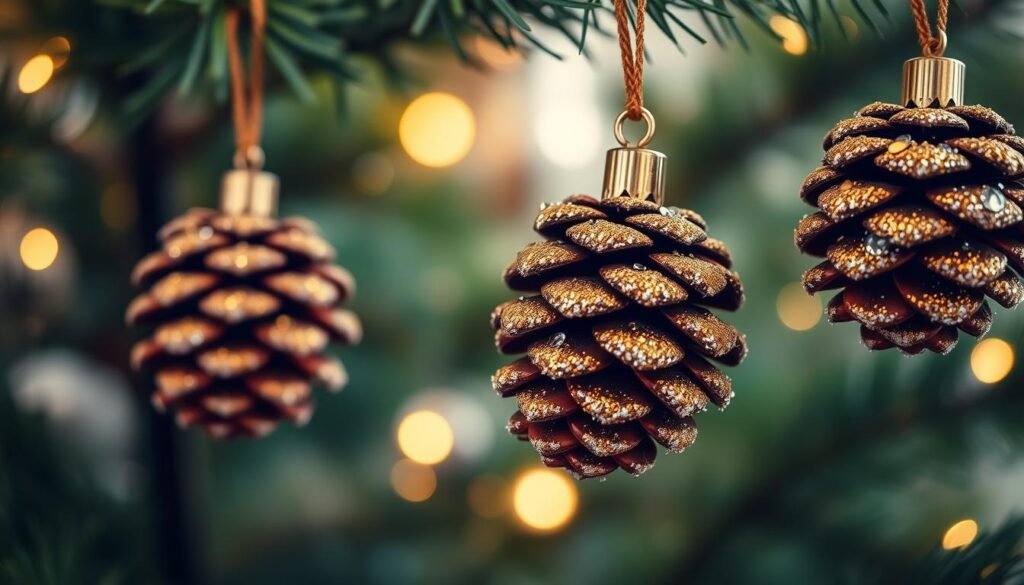
Step-by-Step Guide to Making Glitter Pine Cone Ornaments
Making your own Christmas ornaments is fun and saves money. You can try making glitter pine cone ornaments. They add a natural touch and show off your creativity.
Materials Needed
- Pine cones (various sizes)
- Craft glue
- Glitter (in your choice of colors)
- Ribbon or string for hanging
- Scissors (optional)
Decoration Techniques
Begin by cleaning and drying the pine cones. Then, cover the pine cone with craft glue. Sprinkle glitter over the glue and gently shake off extra glitter. After the glue dries, add a ribbon or string for hanging.
Preservation Tips
To keep your ornaments looking good for years, seal them with clear acrylic spray. This protects the glitter from falling off. Store them in a cool, dry place away from sunlight.
Follow these steps to make beautiful glitter pine cone ornaments. They will add elegance to your Christmas tree or holiday display. Have fun making this easy DIY project!
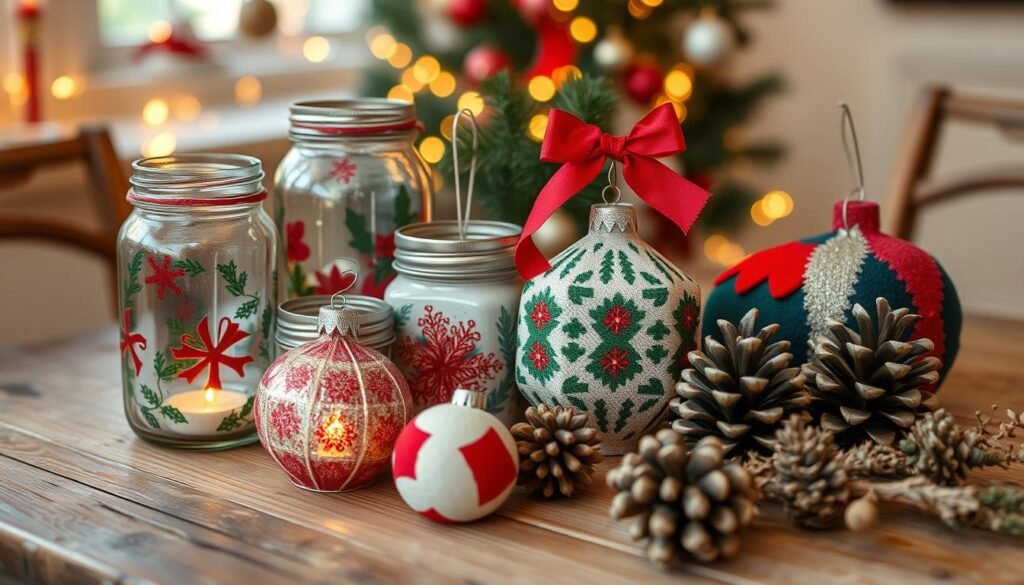
Upcycling Household Items into Festive Decorations
Making inexpensive Christmas crafts and budget-friendly ornaments is easy. You can find inspiration at home by upcycling common items. Turn them into unique and charming holiday decorations.
Transforming old mason jar lids into Christmas scenes is simple. Paint them in festive colors. Then, add small figurines, greenery, or glitter inside. You can also add twine or ribbon for a rustic look.
Old light bulbs can become sparkling snowflakes, Santa figures, or icicles. Just clean and dry them well before decorating. This makes them perfect for a festive touch.
Use fabric scraps to make a patchwork ornament. Piece together different patterns and textures. Finish with a loop for hanging. It’s a great way to decorate your tree and reduce waste.
Upcycling lets you create budget-friendly ornaments that are unique and meaningful. Let your creativity shine and turn everyday items into festive decorations.
Tips for Perfect Ornament Preservation
When you’ve put your heart into making christmas tree decorations and seasonal decorations, keeping them in good shape is key. You’ll want to store them right and clean them gently. Here are some expert tips to keep your ornaments looking great for years.
Storage Solutions
Store your ornaments in strong, padded boxes or containers. Wrap each one in acid-free tissue paper or bubble wrap to avoid scratches. Label the boxes so you can find what you need easily. For delicate ornaments, use special storage boxes with separate compartments.
Cleaning Methods
Dust and dirt can make your christmas tree decorations lose their sparkle. Clean them with a soft, microfiber cloth or cotton swabs. Don’t use water or harsh cleaners, as they can harm the materials. For tough spots, mix a bit of mild dish soap with water, but test it first.
Protection Techniques
To keep your seasonal decorations looking good, apply a clear sealant or varnish. It protects against fading, scratches, and damage from the environment. Always read the instructions and test it on a small area before applying it to the whole ornament.
By using these easy tips, your handcrafted christmas tree decorations and seasonal decorations will keep your home festive for many holidays.
Creative Display Ideas for Handmade Ornaments
Deck the halls with your handcrafted holiday treasures! There’s more to do than just hang your DIY ornaments on the Christmas tree. Explore these creative display ideas to show off your festive diy projects around your home.
Create a stunning ornament wreath by weaving together an assortment of your handmade creations. Arrange them in a circular shape. This lets the ornaments be the main attraction as a captivating focal point.
- Opt for a variety of sizes, shapes, and textures for visual interest.
- Incorporate a mix of materials like glass, wood, and fabric.
- Finish with a decorative ribbon or hanger to hang the wreath.
Elevate your mantel or entryway with a charming ornament garland. String together your DIY ornaments, spacing them evenly. Drape it across the mantel, stair railing, or entryway for a festive, homespun touch.
- Use natural elements like pine branches or eucalyptus to add depth.
- Incorporate battery-operated string lights for a cozy glow.
- Secure the garland with ribbon or fishing line for a seamless display.
Gather your favorite handmade ornaments in a decorative centerpiece bowl or vase. Place it on your dining table or side table. It will captivate guests with your holiday craft ideas.
| Display Idea | Materials Needed | Time Required |
|---|---|---|
| Ornament Wreath | Assorted handmade ornaments, wreath form, wire, ribbon | 1-2 hours |
| Ornament Garland | Handmade ornaments, string, natural elements (optional), lights (optional) | 30-60 minutes |
| Centerpiece Bowl | Handmade ornaments, decorative bowl or vase | 10-20 minutes |
With these creative display ideas, your handmade holiday craft ideas and festive diy projects will shine bright throughout your home this season.
Conclusion
Making your own DIY Christmas ornaments is a fun and affordable way to decorate your home. With these 10 easy DIY Christmas ornaments under $20, you can save money and create unique decorations. These ornaments will become special family keepsakes.
Designing and making these homemade Christmas ornaments brings people together. It creates a sense of tradition and shared memories. Whether you use glittering pine cones or upcycled items, the joy of making them is clear.
Try different materials and ideas to make each ornament special. With a bit of time and effort, your home will be filled with homemade holiday cheer. So, get your supplies ready and start making your own 10 easy DIY Christmas ornaments under $20.
FAQs
What materials are needed for making DIY Christmas ornaments?
To make budget-friendly DIY Christmas ornaments, you’ll need craft glue, scissors, and paint or markers. You’ll also need brushes and common items like pine cones, fabric scraps, and recycled materials.
How much time does it take to create these DIY ornaments?
The time to make each DIY Christmas ornament varies. But most projects in this guide can be done in 30 minutes to an hour. This depends on the design’s complexity and your crafting skill.
What skill level is required for these DIY ornaments?
The DIY Christmas ornament projects in this guide are easy for beginners. They have clear instructions and simple steps. You don’t need advanced crafting skills, making them perfect for both newbies and experienced DIY fans.
How can I personalize my handmade Christmas ornaments?
You can personalize your DIY Christmas ornaments in many ways. Add names, dates, or special messages. Use family photos or mementos. Choose unique colors or decorations that show your style.
How can I properly store and preserve my handmade ornaments?
To keep your DIY Christmas ornaments looking great for years, store them in protective containers. Clean them gently and use sealants or varnishes to prevent damage. This will help keep your decorations in top condition.
How can I display my handmade Christmas ornaments beyond the tree?
You can show off your DIY Christmas ornaments in many ways. Hang them on the tree or use them to create wreaths, garlands, or centerpieces. This adds a festive touch to your holiday decor.